|
|
Lesson 2 |
[FrontPage Include Component] |
|
|
|
|
|
|||||
|
NAVIGATOR: Back - Home > Adi > Services > Support > Tutorials > Apaslite : |
|||||
|
|
|||||
| |||||||||||||||||||
|
Lesson 2
Categories
|
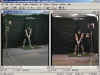
APAS/Lite Tutorial - Lesson 2Lesson 1 illustrates how to input all the necessary parameters. These parameters are required by the digitizing process. The program needs to know the sequence of digitizing. Needs to know the coordinates of the Calibration Frame. Other parameters such as the body's weight and height allow calculation of the Center Of Mass and used with the Gait program to calculate the Inverse Dynamics Kinetic measurement. After inputting all these parameters, the digitizing process can start. The Digitizing process can be done manually or automatically. For automatic digitizing, where the program find the coordinates, you need to put markers on the points of interest. For example, you can use the markers sets as defined for use in APAS/Gait. At the simplest procedure, you just establish one marker per body's joint. This is shown in Figure 2-1.
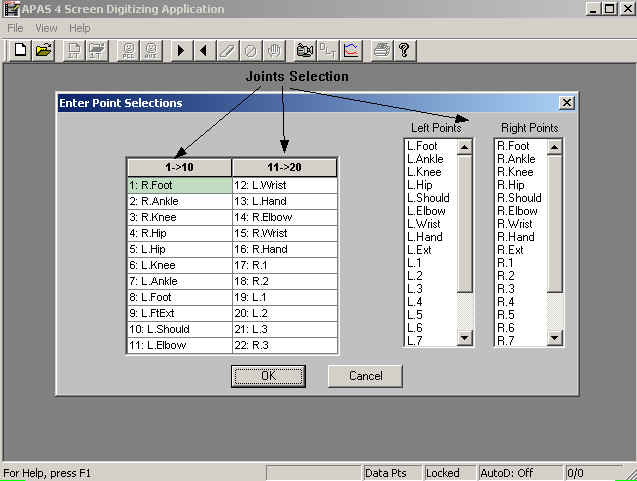
In Figure 2-1 one can observe the markers on each of the body's joints. This is the simplest marker set and the least accurate. However, it can be used as a reference to manual digitizing. In most cases in a live competition such as in the Olympics or in a Golf Tournament, it would not be possible to put markers on the performers and then the only way to digitize the data is by manual method. In order to digitize the data, manually or automatically, it is necessary to define a "fixed point" for the first point to be digitized. Then you need to follow the sequence that you defined in the sequence information. Figure 2-2 illustrates the sequence to be digitized.
From Figure 2-2 one can see the sequence to be digitized. 1: Right Foot; 2: Right Ankle; 3: Right Knee; etc. Don't forget that the first point to digitize is the Fixed Point. This fixed point does not need to be the same in all the views.
As one can see the resolution is not good since I had to compress this video file for your convenient to be able to upload it faster. In normal situation the digital video data is extremely crisp and high quality.
|
|
|