|
|
Transformation |
[FrontPage Include Component] |
|
|
|
|
|
|||||
|
NAVIGATOR: Back - Home > Adi > Services > Support > Manuals > Apas > Dos : |
|||||
|
|
|||||
| |||||||||||||||||||
|
Transformation
Categories
|
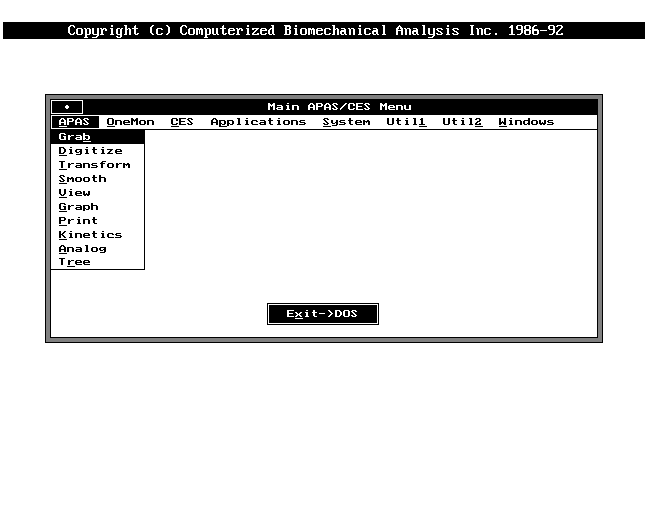
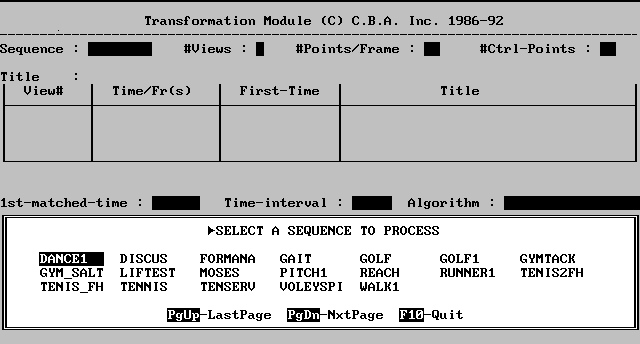
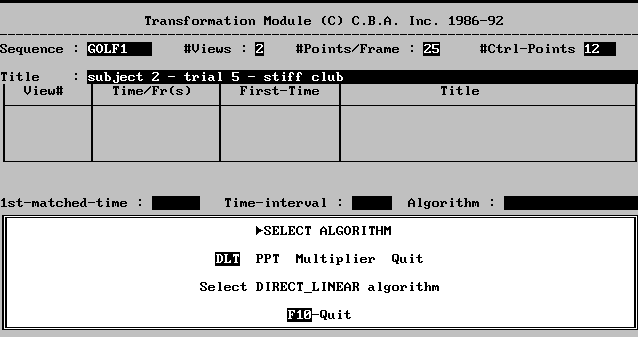
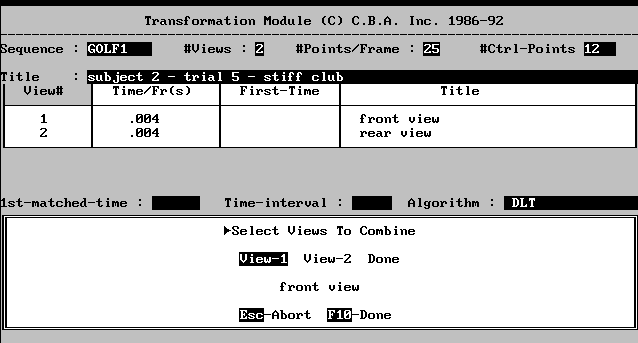
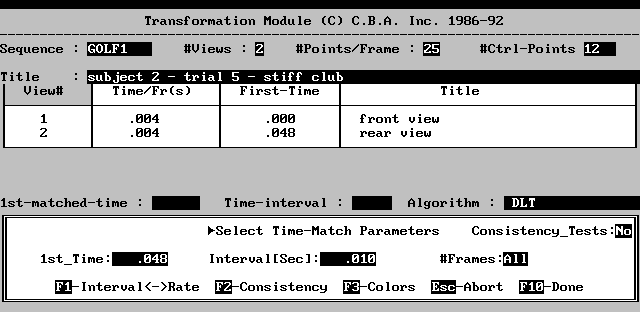
TRANSFORMATION MODULE8.1 TRANSFORMATION PROCESS Transformation is the process of converting two or more, two-dimensional digitized views into a three-dimensional image sequence. The transformation option is also available to convert one, two-dimensional, digitized view into a two-dimensional image sequence. In either case, the process involves transforming the relative digitized coordinates of each point in each frame to absolute image space coordinates. This process is performed entirely by the computer. Some initial timing information will be requested, after which the transformation will occur automatically. A full technical description of the transformation algorithm can be found in Appendix B, Technical Aspects of Transformation and Smoothing. From the Main APAS Menu select the Transformation module. The Sequence List Screen will list all the sequence names on the current directory and request the selection that is to be transformed.The Algorithm Menu will request the transformation method or algorithm to be used. Direct-Linear and Physical Parameter Transformation are the preferred choices and the only ones allowed for three-dimensional analysis. Multiplier is selected for two-dimensional analysis when only one camera view is available and only two control points are known and presented in the view. Direct Linear should be selected for two-dimensional analysis, whenever four or more control points are in the plane of motion (perpendicular to the camera viewing axis). 8.1.1 Direct-linear The transformation module converts digitized coordinate locations to image space coordinate locations by a method known as direct linear transformation. In this process, the known image coordinates, as well as, the digitized coordinates of the control points, are used to solve a set of simultaneous linear equations which relate one set of coordinates to the other. This set of equations is solved using a linear least-squares method which yields the image space coordinates of each point, given the digitized view coordinates of that point. The advantage of this transformation method over more traditional methods is that one does not need to know the location or orientation of the cameras, the distance of cameras to the subject, or any information about the camera or projections lenses, such as focal length and magnification. Instead, by directly determining the relationship between the image space and each of the digitized views, all the intervening image changes are eliminated and need not be considered. In order to utilize this method, there must be a known set of control points in the video recording of each view as explained in Chapter 5, Filming. At least six non-coplanar control points, are required for a three dimensional analysis. This is the minimum number of points needed to solve the set of simultaneous linear equations which produce the transformation. For a two-dimensional analysis using a single camera, at least four co-planar but non-collinear control points must be used. It is possible to use more than the minimum number of control points as this will increase the accuracy of the transformation. The control points should be distributed to fill as much of the image space as practical. If the control points all occur in a small portion of the image space then image distortion is likely to increase as the distance from the image to the control points increases. 8.1.2 Multiplier The transformation module is capable of utilizing another transformation method called the multiplier transformation and is simply a scaling of digitized coordinates to image coordinates. As such, it is strictly a two-dimensional transformation and is inherently a less accurate method of computing image space coordinates. It is provided for film and video sequences which do not include the requisite number of known control point locations. To use the multiplier method at least one distance in the image space must be known (i.e., the length of an object or the distance between two points). The closer this distance is to the activity itself, the better, since distortion may be introduced if this measuring interval is closer to or farther from the camera than the subject. When creating the sequence, digitize the end points of the measuring interval as the two control points. Enter the coordinate locations of the X, Y, Z control points as 0,0,0, for the first point and H,V,0, for the second, where H and V are the known horizontal and vertical distances, respectively. When the multiplier method is used, the transformation module will multiply each digitizer coordinate by the ratio of D to the distance from the first point to the second in digitizer units. This will yield image space coordinates relative to the origin of the digitizer and with X and Y coordinates axes oriented along the digitizer horizontal and vertical axes respectively. 8.2 VIEWS The View Menu will list all the digitized views for this sequence. As each of the views are highlighted the TITLE will be displayed to allow the user to know which view is being selected. Select the views that are to be used in the transformation. Typically all the views are selected, but in some cases, where there are more than two digitized views, some views may be better than others. This may occur when parts of the body are obscured in one view more than in other views and the quality of the digitized view may not be suitable for analysis. Each view will have to be selected by highlighting the name and pressing ENTER. As a view is selected the name will appear in the table at the top of the screen. At least two views are needed to perform a three-dimensional analysis. To remove a view that has already been selected simply select that name a second time. After all the views to be used have been chosen, the F10-Done key is pressed. The entire sequence may also be aborted before this time by pressing the F1-Abort key. 8.3 MATCHING INFORMATION If a three-dimensional transformation is being performed an additional operation must be performed on the individual camera views to synchronize them. This process is called time matching. Since each digitized camera view may start at different points in time, frame one of the first view may not correspond to frame one of the second view. The transformation will only yield accurate results if digitized coordinates from simultaneous frames are used. The transformation module utilizes the synchronizing event from each of the views as a basis for time matching. The time for each frame in each view is adjusted relative to the synchronizing event so that all the synchronizing events occur at the same absolute time. During the transformation process, digitizer coordinates from the various views are combined with frames having the same absolute time. If a frame with the proper time cannot be located (i.e., one frame is before the time and the next is after), the transformation module will interpolate between frames to compute digitizer coordinates with he proper time value. In this manner, only simultaneous information is used for transformation. The upper portion of the Time Matching Screen shows the sequence and view information that has been selected for transformation. The module requests timing information relating to the starting point, as well as, the desired frame rate of the image sequence. After each field has been changed ENTER must be pressed for the field to accept the data. Once all fields are changed to the desired numbers, F10-Done is pressed. F1-Abort may be used to abort the sequence and return to the previous menu. 8.3.1 First Matched-time First matched-time is the starting point in time for the resulting image sequence. Examine the table of view in the upper part of the monitor and notice that each view has a First-Time value. This is the time for the first frame in that view, with all views synchronized and will probably differ from the first frame time set during digitizing. Since the image sequence is created by combining information from each of the views, the sequence should not start until the view with the highest First-Time value starts. It is possible to specify that the image sequence should begin at a later time if information from the beginning of the digitized views are to be omitted. In most cases the image sequence is started at the beginning so the highest First-Time value should be entered as the First matched-time value. In the example in the Time Matching Screen the First-Time value of .043 would be entered as the First matched-time value. 8.3.2 Time-Interval The next item in time matching is the time between frames for the resulting image sequence. The Time/Fr(s) for each of the views is shown in the view table.
8.4 CENTER OF GRAVITY One of the special functions of the transformation module is to compute the location of the center of gravity. Body weight is used in determining the distribution of mass in the various body segments. If the subjects body weight was not entered when the sequence was created in the Digitizing Module the program will now request that the body weight be entered. If the actual body weight is unknown, it is best to enter an estimated value. If kinetic results will not be used in this analysis then the default value of 1 may be left in the Weight Field. ENTER must be pressed for the field to accept any change of weight. Also again, F1-Abort may be used to abort and return the screen to the previous menu. 8.5 CONSISTENCY TESTS After the timing values and the weight have been entered, the program offers the option of Consistency tests. A consistency test compares the measured camera location with the computed camera location for each view to check the consistency of the transformation. This option should be selected when the location of each of the cameras has been measured, relative to the control points (the 0,0,0 point), and the information has been entered in the individual views. The transformation algorithm does not require the camera locations to be measured so the consistency test is not required to be run. However, if research for scientific publication is being conducted and consistency of the analysis method must be demonstrated, camera locations should be measured and the consistency test selected for the analysis. When consistency tests are performed, a printed report is prepared by the transformation module. 8.6 COLORS The computer gives the option to proceed with the transformation or change the colors for the stick figures, logo or background with a variety of colors. To change the colors of any of the items simply select Colors and then select the Item to be changed and the Color. Make sure that the color is not the same color of another item. 8.7 END REPORT After all information has been entered the module will display the flashing message "Transformation In Progress" while the digitized views are transformed into the final image sequence. The current frame being transformed will be displayed on the monochrome monitor and stick figures will be displayed on the color graphic display. When transformation is complete, the total number of transformed frames along with the elapsed time will be reported. If the file has already been transformed the computer will display a screen asking whether to keep or replace the existing file. Replace will cause the old 3D file to be erased and the new transformation values will take its place. Keep function will cause the system to ignore all previous instructions and selections and keep the original 3D file unchanged.
|
